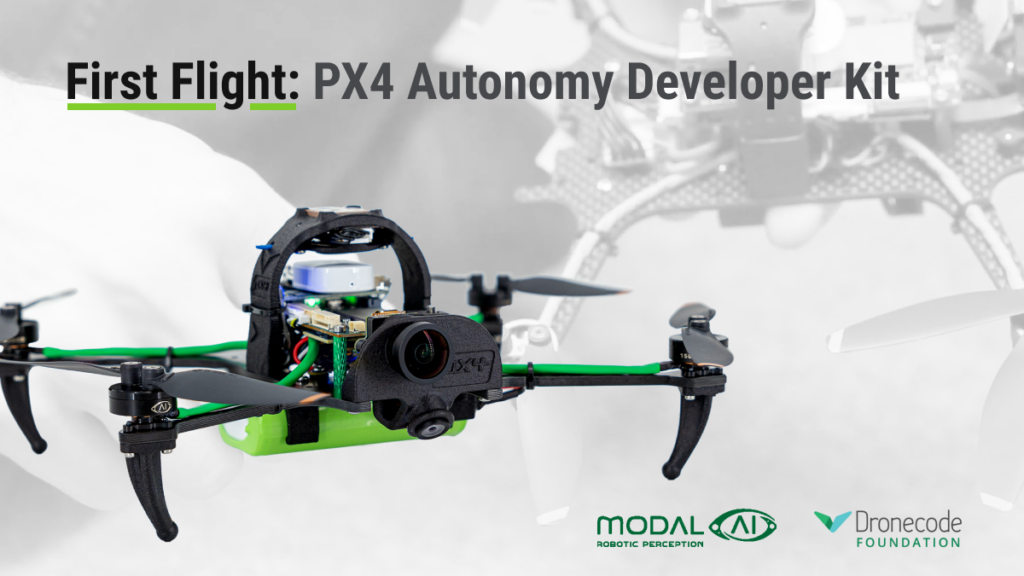
Embarking on your first flight with the PX4 Autonomy Developer Kit by ModalAI marks the beginning of an exciting journey into drone development. This tutorial is crafted to guide you through the initial flight process, ensuring a smooth and successful lift-off. By following these step-by-step instructions, you’ll gain a solid foundation in handling your Developer Kit, preparing you for more advanced operations and developments in the future. First of it’s important to note that The PX4 Autonomy Kit is based on the Starling V2 platform, packaged in a developer-friendly offering.
Pre-Flight Preparation
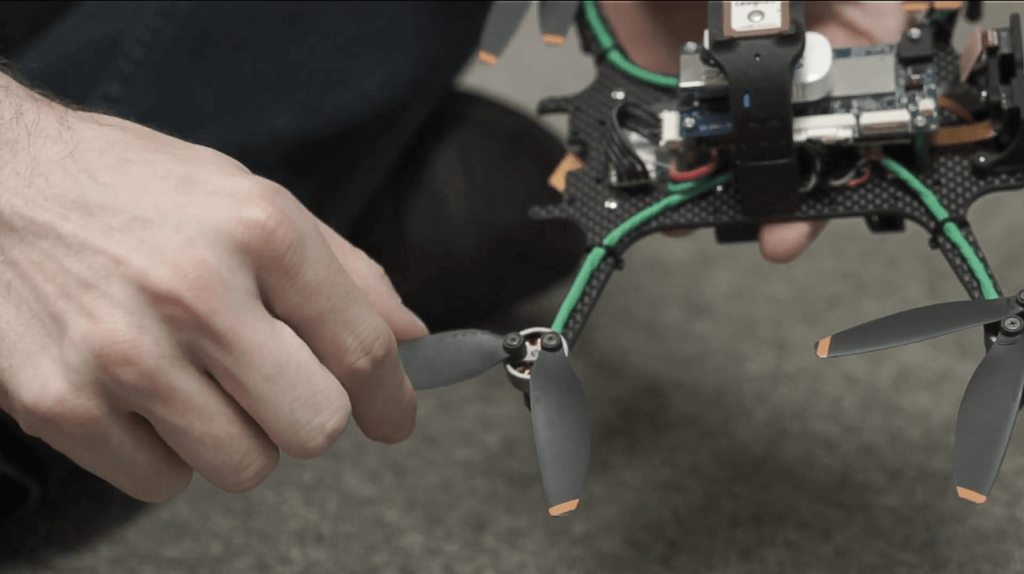
1. Remove the Protective Case and Propeller Clips: Begin by carefully removing the protective case and then proceed to detach all four propeller clips. This step is crucial for ensuring that your drone’s propellers are free to spin and properly installed. For a detailed overview, refer to the Starling Hardware Overview video.
2. Inspect the Motors and Propellers: Manually check each of the four motors to ensure they spin freely without any hindrance. Confirm that the propellers are securely attached and do not wobble or impede on any surrounding components. Regular inspection can prevent flight issues related to loose or obstructed propellers.
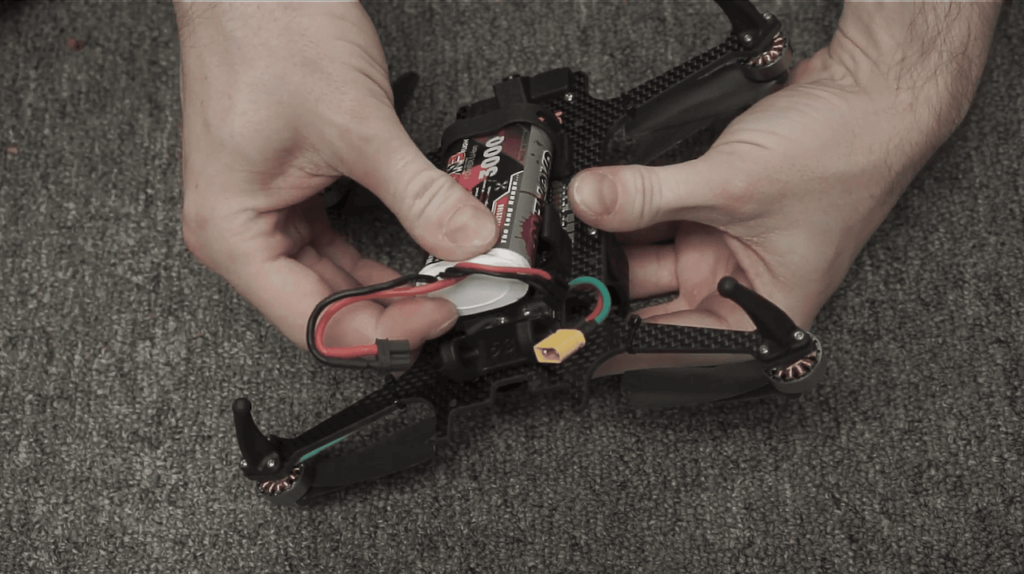
3. Install the Battery: Holding the drone securely, insert the battery into the forward battery clip until it snaps into place against the drone body. Pay attention to the balance plug; secure it off to the side, then connect the XT30 power connector. Tuck any loose wires under the clip holder to keep them from interfering during flight.
Connecting to the Drone
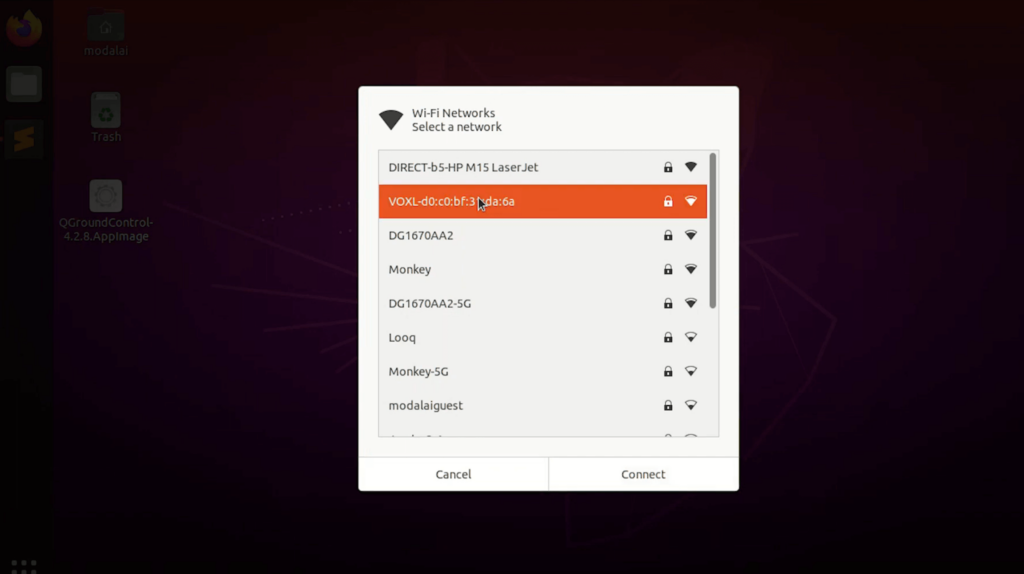
1. Power On and Connect to Wi-Fi: Once the battery is installed, power on your drone. Using your device, connect to the drone’s default Wi-Fi network, typically named starting with the characters “VOXL.” The default password is “1234567890.”
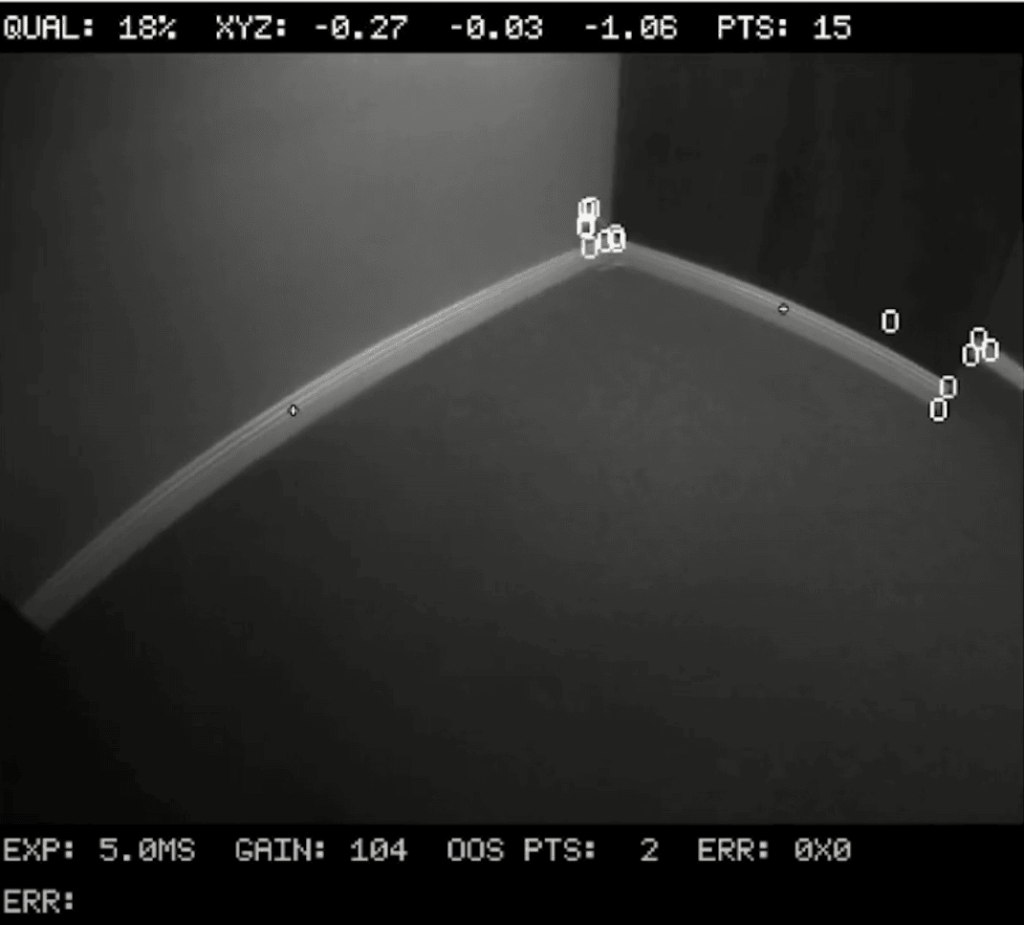
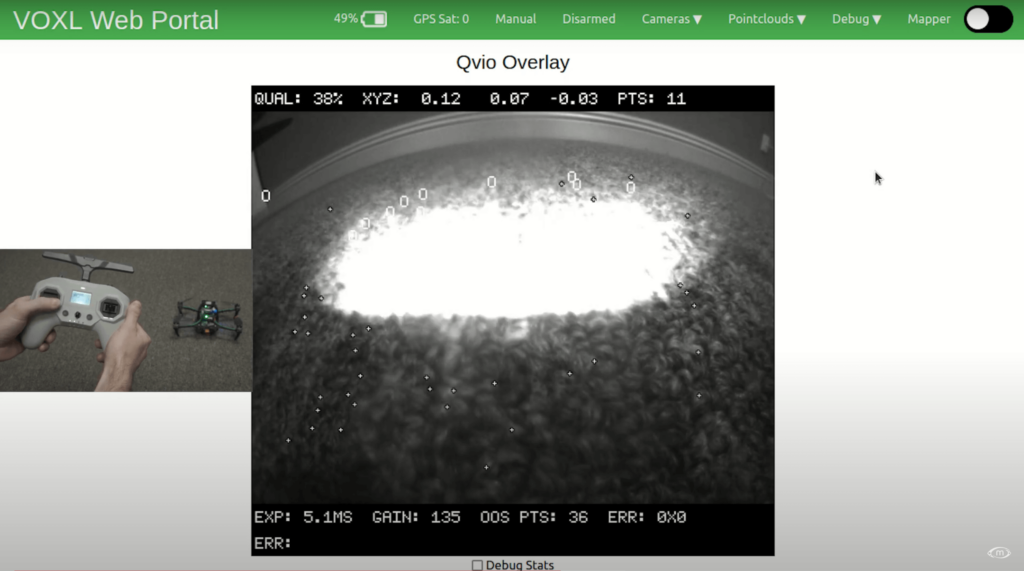
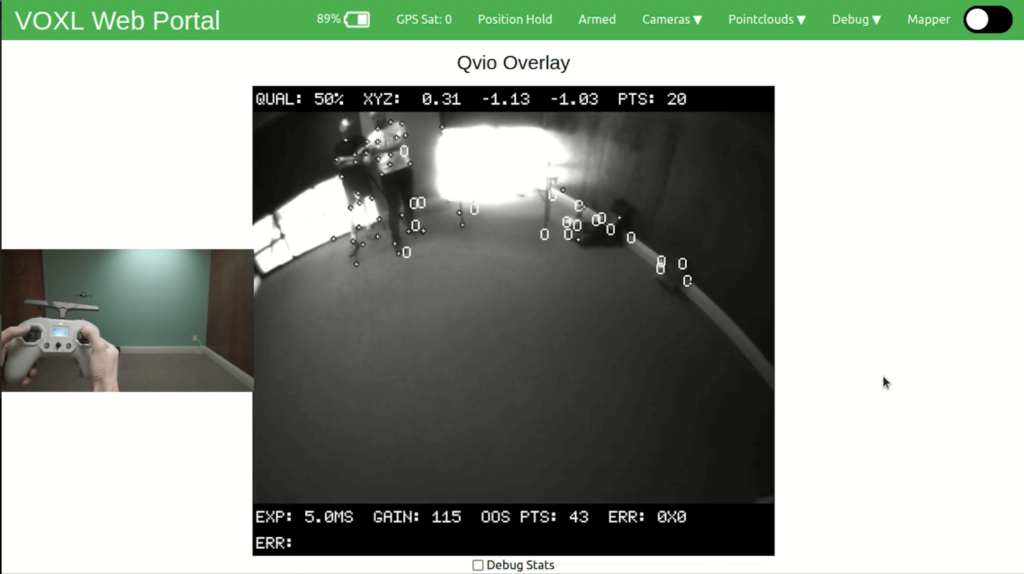
2. Access the Drone’s Interface: Open a web browser and navigate to the drone’s default IP address, 192.168.8.1. Here, you can access the Qvior Overlay video stream under the Cameras🔽 dropdown to check the drone’s video performance before taking off.
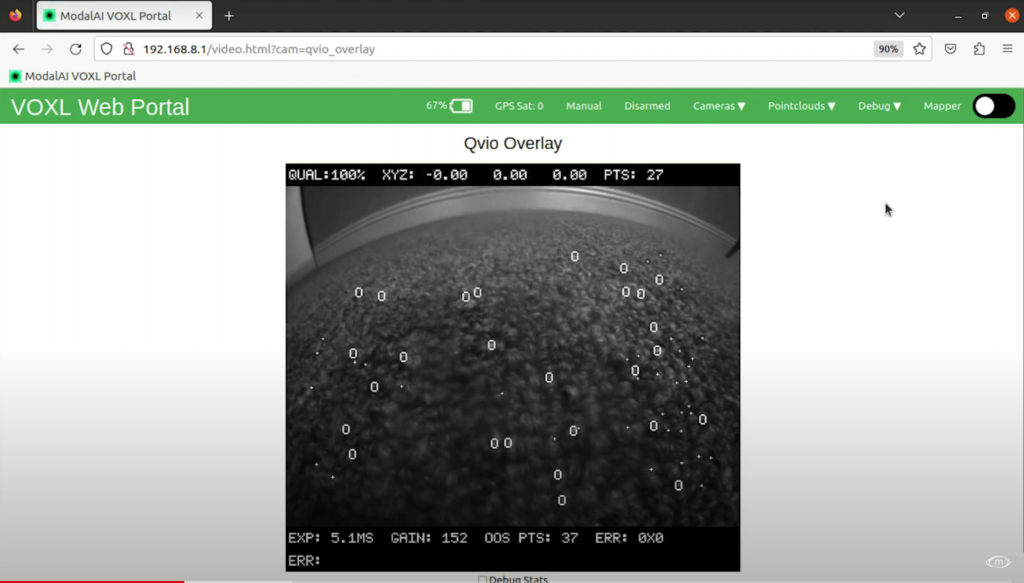
3. Inspect Video Performance: With the video overlay active, lift the drone and move it around the room. Observe if it accurately picks up points and if the XYZ location data is consistent and predictable. This step ensures the drone’s cameras and sensors are functioning correctly before flight.
Preparing for Takeoff
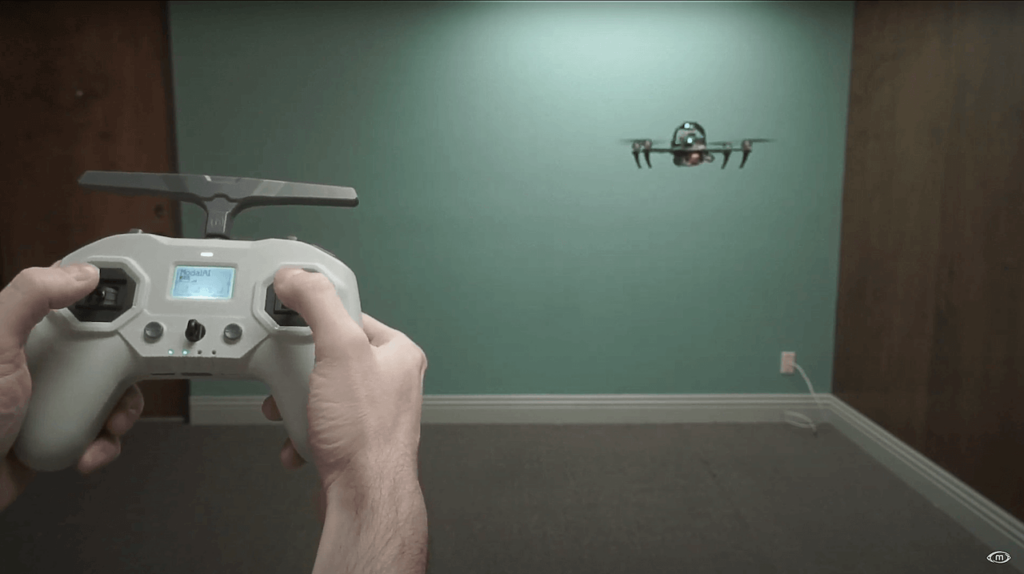
1. Radio Connection: Included in the kit is a Command 8 radio. Ensure it is bound and connected to the drone. Power on the radio by first popping up the antenna and doing a double press on the bottom, one short press followed by a hold, and then release. Check that the blue lights on the receiver are solid, indicating a successful connection. You will also see signal bars appear on the radio.
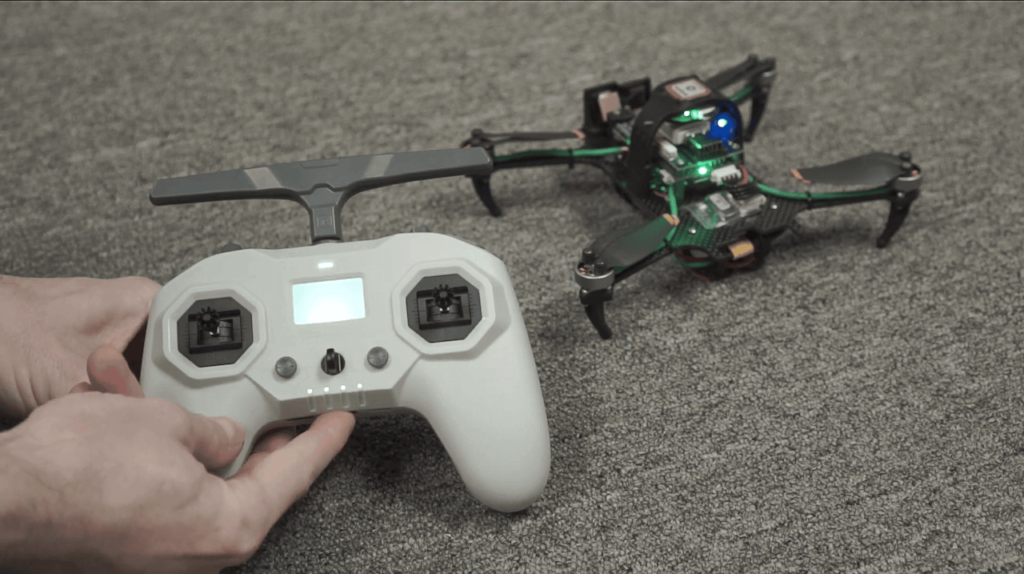
2. Configure the Radio: Familiarize yourself with the radio’s button configuration:
- Throttle Stick: Self-centering.
- Top Left Push Button: Acts as a kill switch.
- Three Position Toggle Switch: For mode switching (Manual, Position Flight, Forward Flight Modes)
- The position where the toggle is set away from the user is Manual Flight Mode.
- The middle position is Position Hold Flight Mode.
- The final position, toggled closest to the user is Offboard Figure Eight Mode.
- Right Buttons: Unassigned, customizable for future use.

3. Arming and Disarming Practice: In manual mode, practice the arming sequence by moving the throttle stick down and to the right. Disarm by moving it down and to the left. Practice using the kill switch in case of emergency.
Preparing for Takeoff
1. Manual Flight: With the drone in manual mode, arm the drone and gently increase the throttle to take off. Disarm to land. Ensure the drone can maintain a stable hover and respond well to controls.
2. Position Hold Flight Mode: Switch to Position mode and arm the drone again. Raise the stick to the middle and the propeller should be moving slowly. Then raise the stick slightly above mid way and the drone should take off. This time, the drone should hover in place more steadily, allowing for smoother flight control.
- Try not to yaw in place too much, but instead, fly around by translating to ensure the new feature points get localized more easily.
- To land, move the stick all the way down and hold it there until it disarms.
3. Off-Board Figure Eight Mode: Lastly, experiment with the off-board figure eight mode to observe autonomous flight patterns. Ensure the drone is in a stable hover in position hold mode before switching to this mode. When you are done, swap back to position mode before landing.
Conclusion
By closely following these steps, you should now have a basic understanding of operating your PX4 Autonomy Developer Kit for its first flight. Remember, patience and practice are key to mastering drone flight. For further details and troubleshooting, consult the ancillary sources provided.